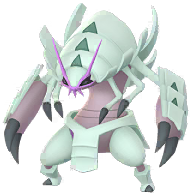
Golisopod (Shadow) Raid Counters
The best attackers against any raid boss, ranked by damage.
| # | Attacker | Moveset | ||||
|---|---|---|---|---|---|---|
| 1 |  RayquazaMega | FlyingAir SlashFlyingDragon AscentK | 35.6 | 36.7 | 2,225 | +5.8% |
| 2 |  RaichuMega YBase26.8High28.6Max30.5Super Max33.0 | ElectricThunder ShockElectricZap Cannon+ | 30.5 | 33.1 | 991 | +2.0% |
| 3 |  StaraptorMegaBase25.6High26.6Max27.9Super Max29.6 | FlyingGustEFlyingBrave Bird+ | 27.9 | 29.4 | 1,407 | +2.2% |
| 4 |  ManectricMegaBase24.5High26.2Max27.8Super Max30.5 | ElectricThunder FangElectricDischarge+ | 27.8 | 29.7 | 1,077 | +1.6% |
| 5 | 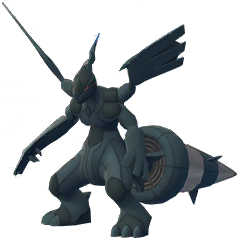 ZekromShadow | ElectricCharge BeamElectricFusion BoltE | 27.5 | 28.8 | 1,413 | +2.0% |
| 6 |  Regieleki | NormalLock-OnElectricThunder CageE | 27.3 | 29.6 | 901 | +1.3% |
| 7 | 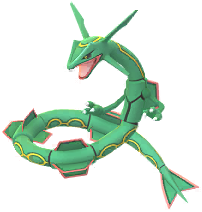 Rayquaza | FlyingAir SlashFlyingDragon AscentK | 27.2 | 28.4 | 1,429 | +2.0% |
| 8 | 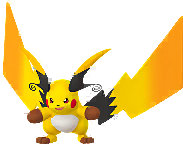 RaichuMega XBase23.5High25.2Max27.0Super Max29.1 | ElectricThunder ShockElectricVolt Tackle+ | 27.0 | 28.8 | 1,041 | +1.4% |
| 9 | 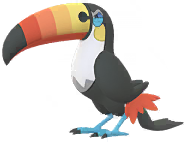 ToucannonShadow | FlyingPeckFlyingBeak BlastE | 26.7 | 29.0 | 871 | +1.2% |
| 10 |  MoltresShadow | FlyingWing AttackFlyingFly | 26.2 | 28.5 | 990 | +1.3% |
| 11 |  SkarmoryMegaBase23.5High24.7Max26.0Super Max27.4 | FlyingAir SlashFlyingDrill Peck+ | 26.0 | 27.2 | 1,532 | +1.8% |
| 12 |  SalamenceShadow | DragonDragon TailFlyingFly | 25.8 | 27.2 | 1,143 | +1.3% |
| 13 |  RampardosShadow | RockSmack DownRockRock Slide | 25.4 | 29.0 | 614 | +0.7% |
| 14 |  StaraptorShadow | FlyingGustEFlyingFly | 25.4 | 27.6 | 827 | +0.9% |
| 15 |  MewtwoMega YBase24.9High24.9Max25.3Super Max27.1 | PsychicPsycho CutPsychicFuture Sight+ | 25.3 | 26.5 | 1,263 | +1.3% |
| 16 |  ElectivireShadow | ElectricThunder ShockElectricWild Charge | 25.0 | 27.2 | 839 | +0.8% |
| 17 |  RegigigasShadow | ElectricHidden Power (Electric)NormalCrush GripE | 25.0 | 26.4 | 1,148 | +1.1% |
| 18 |  ThundurusTherian Forme | ElectricVolt SwitchElectricWildbolt StormE | 24.7 | 26.3 | 1,060 | +1.0% |
| 19 | 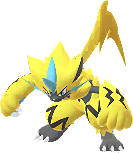 Zeraora | ElectricVolt SwitchElectricPlasma Fists | 24.5 | 26.0 | 1,092 | +0.9% |
| 20 | 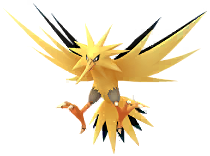 ZapdosShadow | ElectricThunder ShockEFlyingDrill Peck | 24.3 | 25.8 | 1,039 | +0.8% |
| 43 | SalamenceBaseline | DragonDragon TailFlyingFly | 21.5 | 22.5 | 1,138 | 0.0% |
Gain compares each attacker with the baseline, Salamence, the best attacker against this boss that isn’t a Mega, a Shadow or a Legendary. It is the extra damage the attacker does before it faints, as a percent of the boss’s HP. A Gain of +2.0% means that each time you send one out, it takes about 2% more off the boss than Salamence would have. A negative Gain means Salamence does more.
How This Works
Pick a raid boss to see the best attackers against it. Bosses in raids right now come up first when you search, and you can pick any other Pokémon to plan ahead.
- Choose the boss, then its tier. The tier sets the boss’s CP and HP, so it changes the order as well as the numbers.
- Turn off Megas or Shadows if you don’t have them.
- Set Mega Level to the level your Megas are at. It starts on Max. Where the level makes a difference, a Mega also shows its number at the other levels.
The list starts sorted by eDPS. You can sort it by DPS or TDO instead.
eDPS is the boss’s HP divided by the time it takes to win, counting the time lost when your attackers faint and you rejoin. A hard hitter that faints fast scores lower for it. DPS is damage per second while the attacker is standing, and TDO is the total damage one attacker deals before it faints.
Gain is what one of these adds to a team you already have. It compares one attacker with the baseline for the same boss, which is the best attacker that isn’t a Mega, a Shadow or a Legendary, on the moves it learns today. You’ll find the baseline highlighted in the table, and Pin Baseline moves it to the top. The extra damage is counted for as long as the attacker stays standing, as a percent of the boss’s HP. A hard hitter that faints in seconds gains little. A slightly weaker one that lasts three times as long can gain more.
Attackers are ranked at level 40 with 15/15/15 IVs, in a party of six, with no weather boost and no dodging. The boss attacks the way a raid boss does. It waits a moment after each move and doesn’t always use a charged move the second it can. Tier 1 to 3 fights are too short for averages, so those are worked out move by move. Party Power is off unless you set the size of your Party Play group. A full gauge doubles one charged move, and it fills after 18 of your fast moves in a party of two, 9 in a party of three and 6 in a party of four. The damage model comes from GamePress and DialgaDex.
A letter after a move means it is outside the Pokémon’s current move pool: E needs an Elite TM, L can no longer be learned, and K is taught by the Pokémon’s own item.
Mega Level raises a Mega move’s power by up to 1.3× in raids, and a Super Max Mega also gains two CP levels. A Mega’s boost to other trainers isn’t counted, because it does nothing for the Mega’s own trainer.